Automation has established itself in our daily lives. From smart homes to self-driving cars, technology has revolutionized the way we live. But what about our furry friends?
In this blog article, we’ll investigate the development of an automated cat feeder as we explore the fascinating worlds of software engineering and automation.
Our Cat Feeder was created with the aim of providing cat care in a simple way. It is powered by an ESP8266, 3D-printed components, a NEMA17 stepper motor with A4988 Driver Module, as well as a 12V power supply.
Additionally, the cat feeder is simple to integrate into well-known home automation systems like Home Assistant, enabling you to feed your cat with an embedded HTTP request.
Let’s take a closer look at the project to figure out the increase in pet care digitalization.
Components
3D-Printed Parts: Using a 3D printer we are able to produce the components for building the automated cat feeder. The STL files for the 3D-printed parts are available for download here.
NEMA17 Stepper Motor: This high-precision motor rotates the spindle, transporting the cat food from the storage container to the feeding bowl.
A4988 Driver Module: Used to control the NEMA 17 stepper motor.
ESP8266 Microcontroller: Used to execute the cat feeder source code for controlling the stepper motor.
Power Supply: 12V DC in order to operate the device.
Building the Automated Cat Feeder
This chapter describes some basic steps to assemble the cat feeder.
Step 1: 3D Printed Parts
Use the provided STL files to 3D print the components required for the cat feeder.
The following five parts are required to execute the first test run.


Step 2: Assemble the Hardware
There are several instructions to assemble the hardware components ESP8266, NEMA 17, and Driver Module A4988 according to their wiring diagrams available on the internet. One very detailed description can be found here.
Step 3: Upload the Source Code
Upload the source code to the ESP8255 microcontroller using your preferred programming environment. We recommend Visual Studio with PlatformIO. Make sure to modify the code as needed, such as adjusting WIFI credentials, pins, or portion sizes inside main.cpp as well as OTA setup in platformio.ini.
Step 4: Start Feeding
After assembling the cat feeder and connecting the ESP to WIFI, a first test can be triggered by visiting http://HOST-IP/feed
Integration into Home Automation
Since the automated cat feeder can be triggered by a simple HTTP GET request, a seamless integration into several Home Automation Systems like Home Assistant is very easy. Therefore, you can easily trigger feeding cycles and monitor your pet’s meals from your smartphone or home automation dashboard.
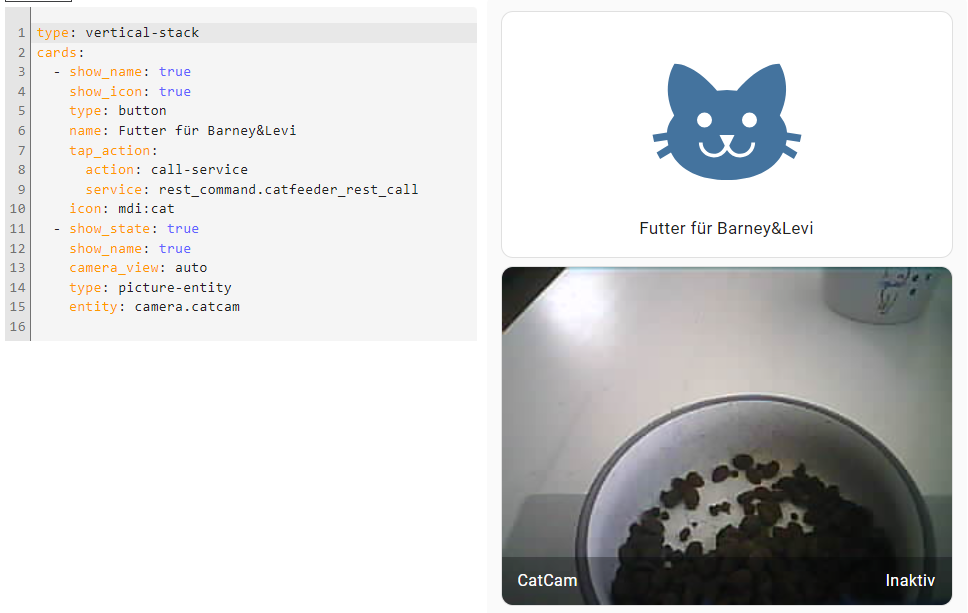
To establish a service that activates an HTTP request integrated into Home Assistant, please visit the following blog post.
The Benefits of Using an Automated Cat Feeder
Automating pet care offers several advantages:
Consistency: The cat feeder dispenses food at scheduled times, ensuring your pet receives regular meals even when you’re not at home.
Remote Control: With connectivity features, you can control and monitor the cat feeder from your smartphone, making it convenient to adjust feeding times or check food levels.
Portion Control: Prevent over- or underfeeding by programming precise portions for each meal.
Peace of Mind: Reduce worries about your pet’s well-being when you can’t be there in person.
This project was done in cooperation with https://seaa.dev/


